Accurate cooking is an art, and every artist needs their trusted tools. For food enthusiasts, a reliable meat thermometer is often their secret ingredient to culinary success. Whether you’re searing a steak to perfection, baking a delicate soufflé, or ensuring the chicken is cooked just right, an accurate food thermometer is your kitchen companion.
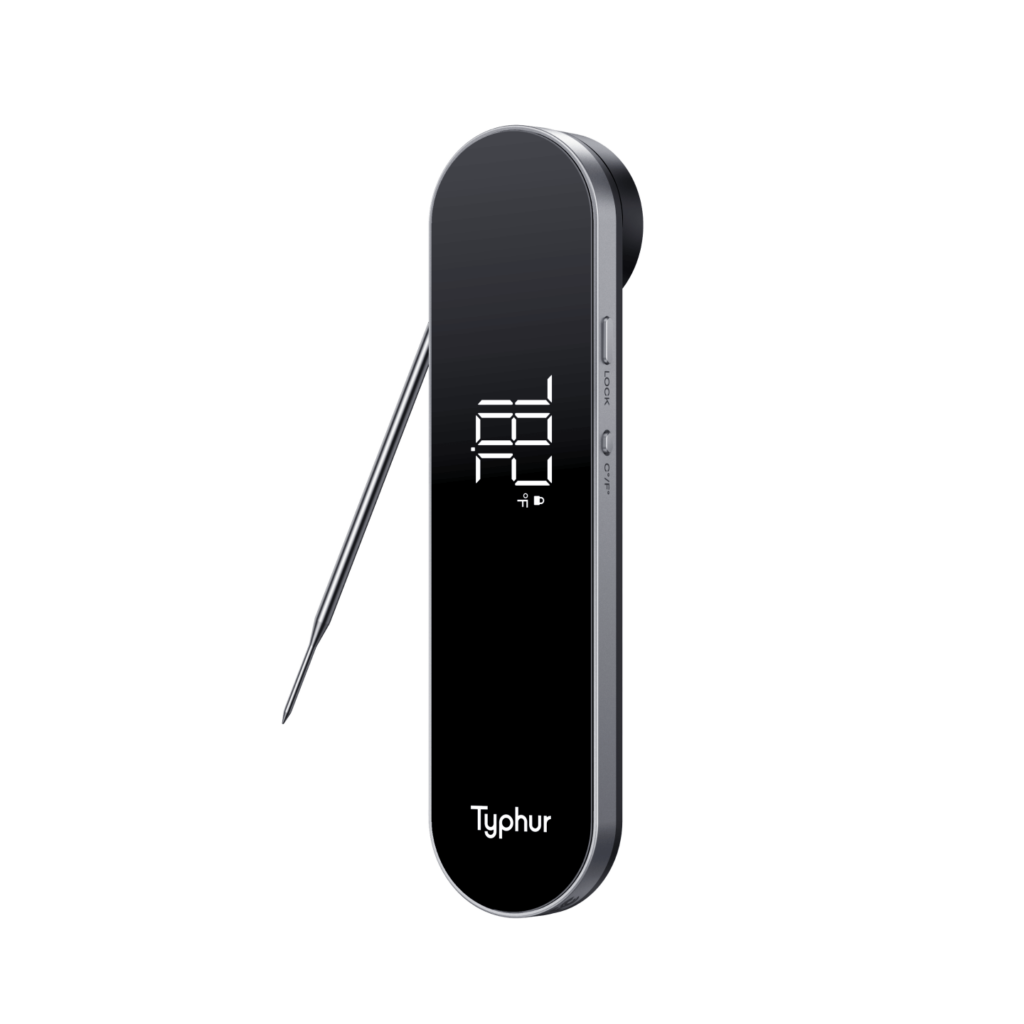
Instant Read Meat Thermometer
However, here’s a little secret: to make sure your thermometer is accurate, it must be calibrated.
What is calibrating your thermometer?
Thermometer calibration may sound like a technical task, but it’s a simple yet crucial process that ensures the accuracy of your temperature measurements. Just as a musician tunes their instrument before a performance, a chef calibrates their thermometer before creating culinary magic.
Calibration involves comparing your thermometer’s measurements to a known standard or reference point. By doing so, you can identify any discrepancies and make necessary adjustments to ensure that your thermometer provides trustworthy readings.
Ice bath calibration
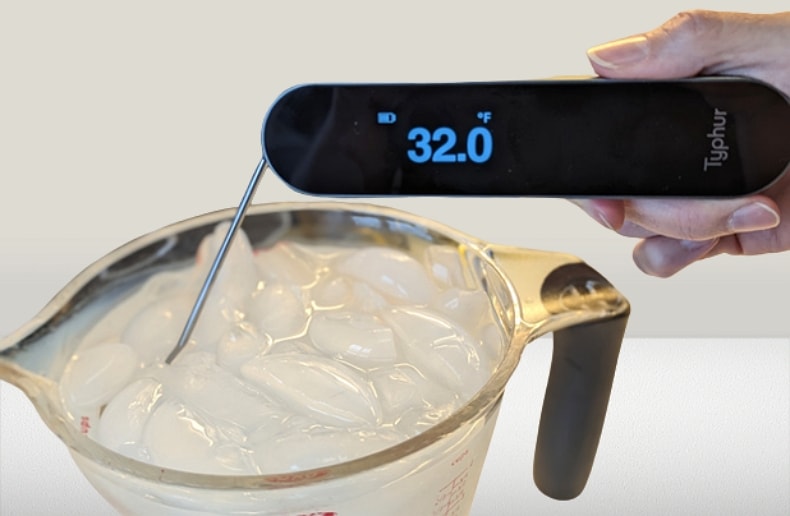
An ice bath is considered one of the best ways to calibrate a thermometer because it provides a known standard reference point. In an ice bath, the mixture of ice and water reaches a stable temperature of 0°C (32°F) under normal atmospheric pressure. This temperature is well-defined and widely accepted as a reference point in temperature measurement.
When you immerse your thermometer probe into an ice bath, you’re exposing it to this known standard temperature. By comparing the thermometer’s reading to the expected 0°C (32°F) in the ice bath, you can assess whether your thermometer is accurate and make necessary adjustments if it deviates from this standard.
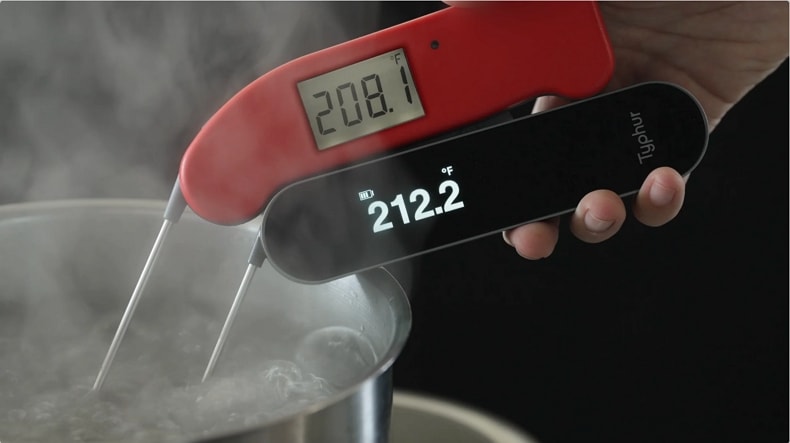
Similarly, the boiling point calibration method uses the boiling point of water to provide another precise reference temperature, typically at 100°C (212°F) under normal atmospheric conditions.
How to Create a Properly Made Ice Bath
Creating a properly made ice bath is all about maintaining the perfect ice-to-water ratio. Follow these steps to craft an impeccable ice bath for your thermometer calibration:
Step 1: Fill a vessel to the top with ice
Fill a vessel (such as Mug) to the top with ice. Crushed ice is the preferred choice here, as it minimizes the gaps between ice particles, ensuring a more consistent temperature.
Step 2: Add Water
Fill the vessel with water until it’s approximately 1/2 inch below the top of the ice, and let the mixture rest for a minute or two to allow the temperature of the water to settle.
If you notice ice floating, a slight adjustment is needed. Simply pour off some water and top up with more ice until the balance is just right.
Step 3: Insert the Probe
Carefully insert your probe or thermometer stem into the center of the ice slurry. Avoid letting the sensor touch any ice cubes, also, ensure that the probe tip is not in contact with the side walls or the bottom of the container, as this can affect the accuracy of your reading.
Gently stir the probe to distribute the temperature evenly throughout the vessel. Stirring helps to achieve temperature equilibrium and ensures accurate readings.