Having trouble with limited oven space, overcooked turkey, or soggy skin on the bottom? Try spatchcocking your turkey for this Thanksgiving dinner! It’s a simple but genius technique that can change the way you cook your turkey forever. By flattening the bird, you get faster, more even cooking, plus irresistibly crispy skin.
Read on to see how you can effortlessly nail the star of your Thanksgiving feast!
What is Spatchcocking?
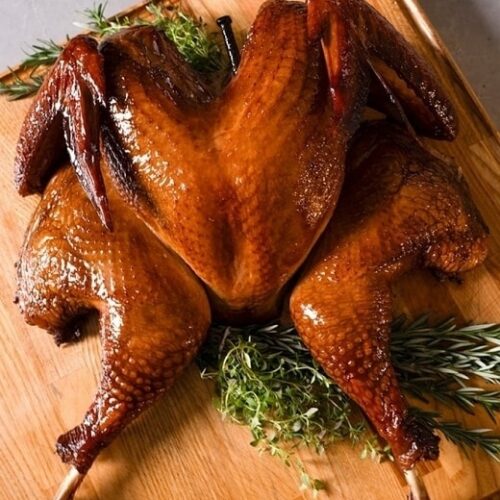
Let’s start with the basics. Spatchcocking (sometimes called “butterflying”) is a technique where you remove the backbone of a bird and flatten it out before cooking. Sounds intense, but it’s actually pretty simple—and incredibly effective.
Imagine your turkey lying flat, with all its surface exposed to the heat. This setup helps everything cook evenly, which is especially handy when you’re dealing with a big bird like a turkey.
It is like pressing “fast-forward” on your Thanksgiving meal. By spreading the turkey out, you reduce the thickness and create a shape that cooks much faster and more consistently than a whole, round bird.
Benefits of Spatchcocking a Turkey
Spatchcocking might sound like a fancy chef technique, but it’s perfect for home cooks who want a juicy, flavorful, and hassle-free Thanksgiving turkey. Here are the biggest benefits:
#1. Faster Cooking Time
A spatchcocked turkey cooks in about half the time than the traditional way. Flattening the bird allows for more even heat distribution, the oven quickly heats the dense center of the turkey.
#2. More Even Cooking
One of the biggest challenges with roasting a turkey is that the breast meat often dries out before the dark meat is fully cooked. Spatchcocking turkey allows the breast and thighs to cook at the same rate.
#3. Crispy, Golden Skin
Who doesn’t love crispy turkey skin? By flattening the bird, more of the skin is exposed to the oven’s heat, ensuring it browns evenly and gets perfectly crispy.
#4. Perfect for Gravy Lovers
When you spatchcock a turkey, all those flavorful juices drip directly into the roasting pan, creating a treasure trove of drippings for gravy. Plus, the backbone you remove can be roasted alongside the turkey or used to make an incredibly rich stock for your gravy base.
#5. Saves Oven Space
A spatchcocked turkey is less bulky than a whole bird, which means it takes up less room in the oven. That’s a lifesaver when you’re juggling multiple dishes for a big holiday feast. More space for stuffing, casseroles, or pies!
While spatchcocking gives you nice, even cooking, it doesn’t exactly look like the classic, whole turkey centerpiece everyone expects at Thanksgiving. Plus, it’s not great if you want to stuff the turkey. So, if you’re going for that traditional roast turkey vibe, this probably isn’t the way to go.
How to Spatchcock a Turkey
Tools you need for spatchcocking the turkey:
- Sharp Kitchen Shears: These are essential for cutting through the backbone.
- Chef’s Knife: Helpful for making any additional cuts, if needed.
- Cutting Board: Choose a sturdy one with grooves to catch any juices.
- Paper Towels: Use these to pat the turkey dry for maximum crispiness.
Instructions:
- Place the turkey breast side down on your cutting board, with the backbone facing up.
- Using your kitchen shears, cut down one side of the backbone from the tail to the neck. Then, repeat on the other side. You’ll remove the backbone entirely—don’t toss it! (It’s great for making stock or gravy.)
- Flip the turkey over so the breast side is up. Place both hands on the breastbone and press down firmly until you hear a crack. This step helps the turkey lie flat.
- Tuck the wings under the breasts, spread the legs outward, and trim any excess neck skin.
There’s a video below that shows exactly how to spatchcock a turkey!
Temperature Guide for Roasting Spatchcocked Turkey
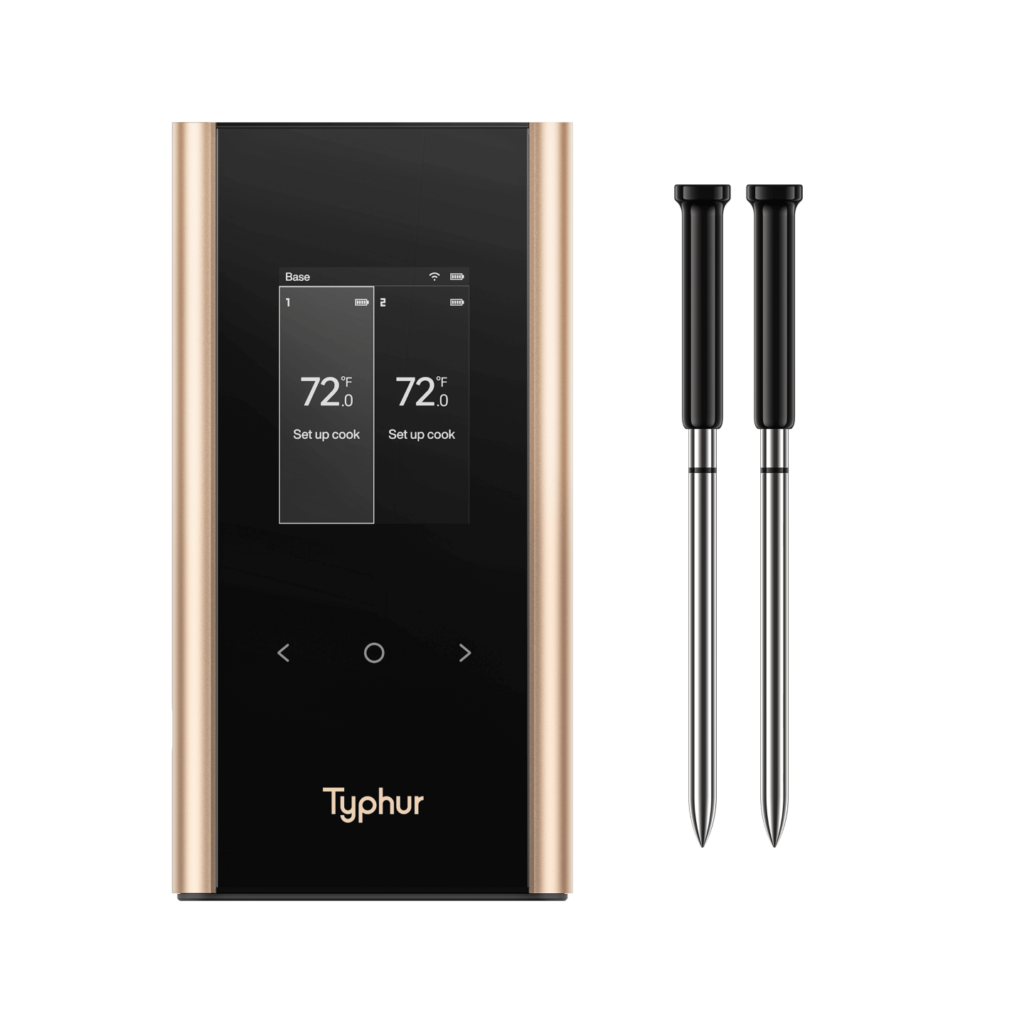
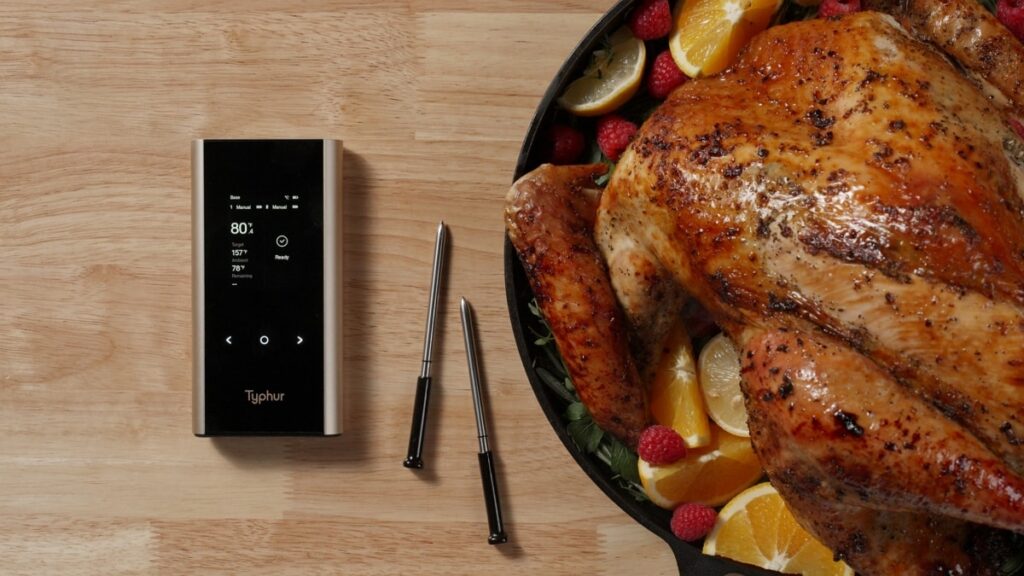
To roast a spatchcocked turkey, preheat your oven to 425°F (218°C). Insert the Typhur Sync Gold dual probe wireless meat thermometer into the thickest part of the breast and thigh. Pull the turkey from the oven once the Typhur Sync reads 156°F for the breast and 175°F for the thigh. Rest for 15-20 minutes before carving for the best results, the turkey’s temperature will continue to rise while resting.

Long Range Wireless Meat Thermometer

FAQs
A spatchcocked turkey has the backbone removed and flattened, which helps it cook evenly and faster, with crispier skin. A splayed turkey keeps the backbone but spreads the legs outward, helping the thighs cook faster without fully flattening the bird.
Yes, spatchcocking your turkey the night before is actually a great idea! Prepping it ahead not only saves you time on the big day but also lets you season the turkey more thoroughly. By spatchcocking and seasoning it the night before, you give the spices or dry brine a chance to really penetrate the meat, enhancing the flavor. Plus, leaving it uncovered in the fridge overnight helps dry out the skin a bit, which means an even crispier finish when you roast it.

Spatchcocked Turkey With Gravy
Video
Ingredients
- 1 whole turkey (10 to 12 pounds total, fully thawed if using frozen turkey)
Herb Butter
- 16 tbsp salted butter (at room temperature)
- 1 bunch sage
- 3 twigs rosemary
- 1 bunch thyme
Gravy
- 1 large yellow onion
- 2 large carrots
- 2 cloves garlic
- 4 tbsp butter
- 4 tbsp flour
- 2 mild sweet pork sausage (Optional)
- 1 HoneyNut or Butternut Squash (Optional)
Instructions
Turkey
- Using a sharp knife or kitchen shears, spatchcock your turkey; remove the backbone, flip the bird, and press down on the top of the breasts to flatten for an even cooking surface and beautiful presentation. Hold on to the backbone for gravy making.
- Generously salt the entire turkey, coating and rubbing the salt into all surfaces.
- Set the turkey on a wire rack and leave uncovered in the fridge overnight. This is called a dry brine. It will dry out the skin so it gets crispy during the cook, and allow the salt to sink into every part of the bird so each bite is beautifully seasoned. If you don’t have time for this step, skip it, it will still be great!
- The following day, preheat your oven to 400 Degrees F.
- Prepare the herb butter (Can be done the day before) Remove the herbs from the stems and mince. Incorporate into the room temperature butter until the mix is homogenous.
- Gently use your fingers to get under and separate the skin of the turkey, creating space to work in our herb butter. Focus on the breasts and thighs, massaging a generous amount of the butter under the skin and spreading it as evenly as possible. This will give our bird a wonderful flavor and keep the meat juicy while it cooks.
- Rub olive oil on the skin to help it crisp up and get good color as we cook.
- Insert your Typhur thermometer probes into the thickest part of the breast and thigh.
- Place the bird into the oven.
- Pull bird when the thermometer in the breast registers 145 Degrees F and the thigh is in the ballpark of 185 Degrees F.
Gravy
- Cut your onion in half, peel your carrots, and cut off the top of your head of garlic to reveal the cloves.
- Take your veggies, the backbone from turkey (throw in the neck, and any other scraps you have from spatchcocking your bird), and the sausage and squash if available. Toss them lightly in olive oil, place open a cookie sheet, and roast them in a 400 Degree oven until they are caramelized and develop a golden brown color. (The more color, the more flavor development, but be careful not to over char and burn)
- Remove from the oven and transfer to a large pot, making sure to scrape all bits and juices from the cookie sheet into the pot for max flavor.
- Cover with water and gently simmer for at least 60 minutes. The longer it simmers the more flavor it gets!
- Remove your stock from the heat and strain out all your solid materials so only the beautiful liquid remains.
- In a separate medium saucepan, on medium low heat, make a roux to thicken our gravy: Add 4 tbsp of butter and 4 tbsp of flour. Cook out for 2-3 minutes until the mixture has developed a golden color and is the consistency of wet sand. Feel free to add a bit more flour or butter to thicken up or loosen the consistency.
- Slowly add stock into the flour and butter mixture, stirring as you incorporate until the desired gravy consistency is achieved.
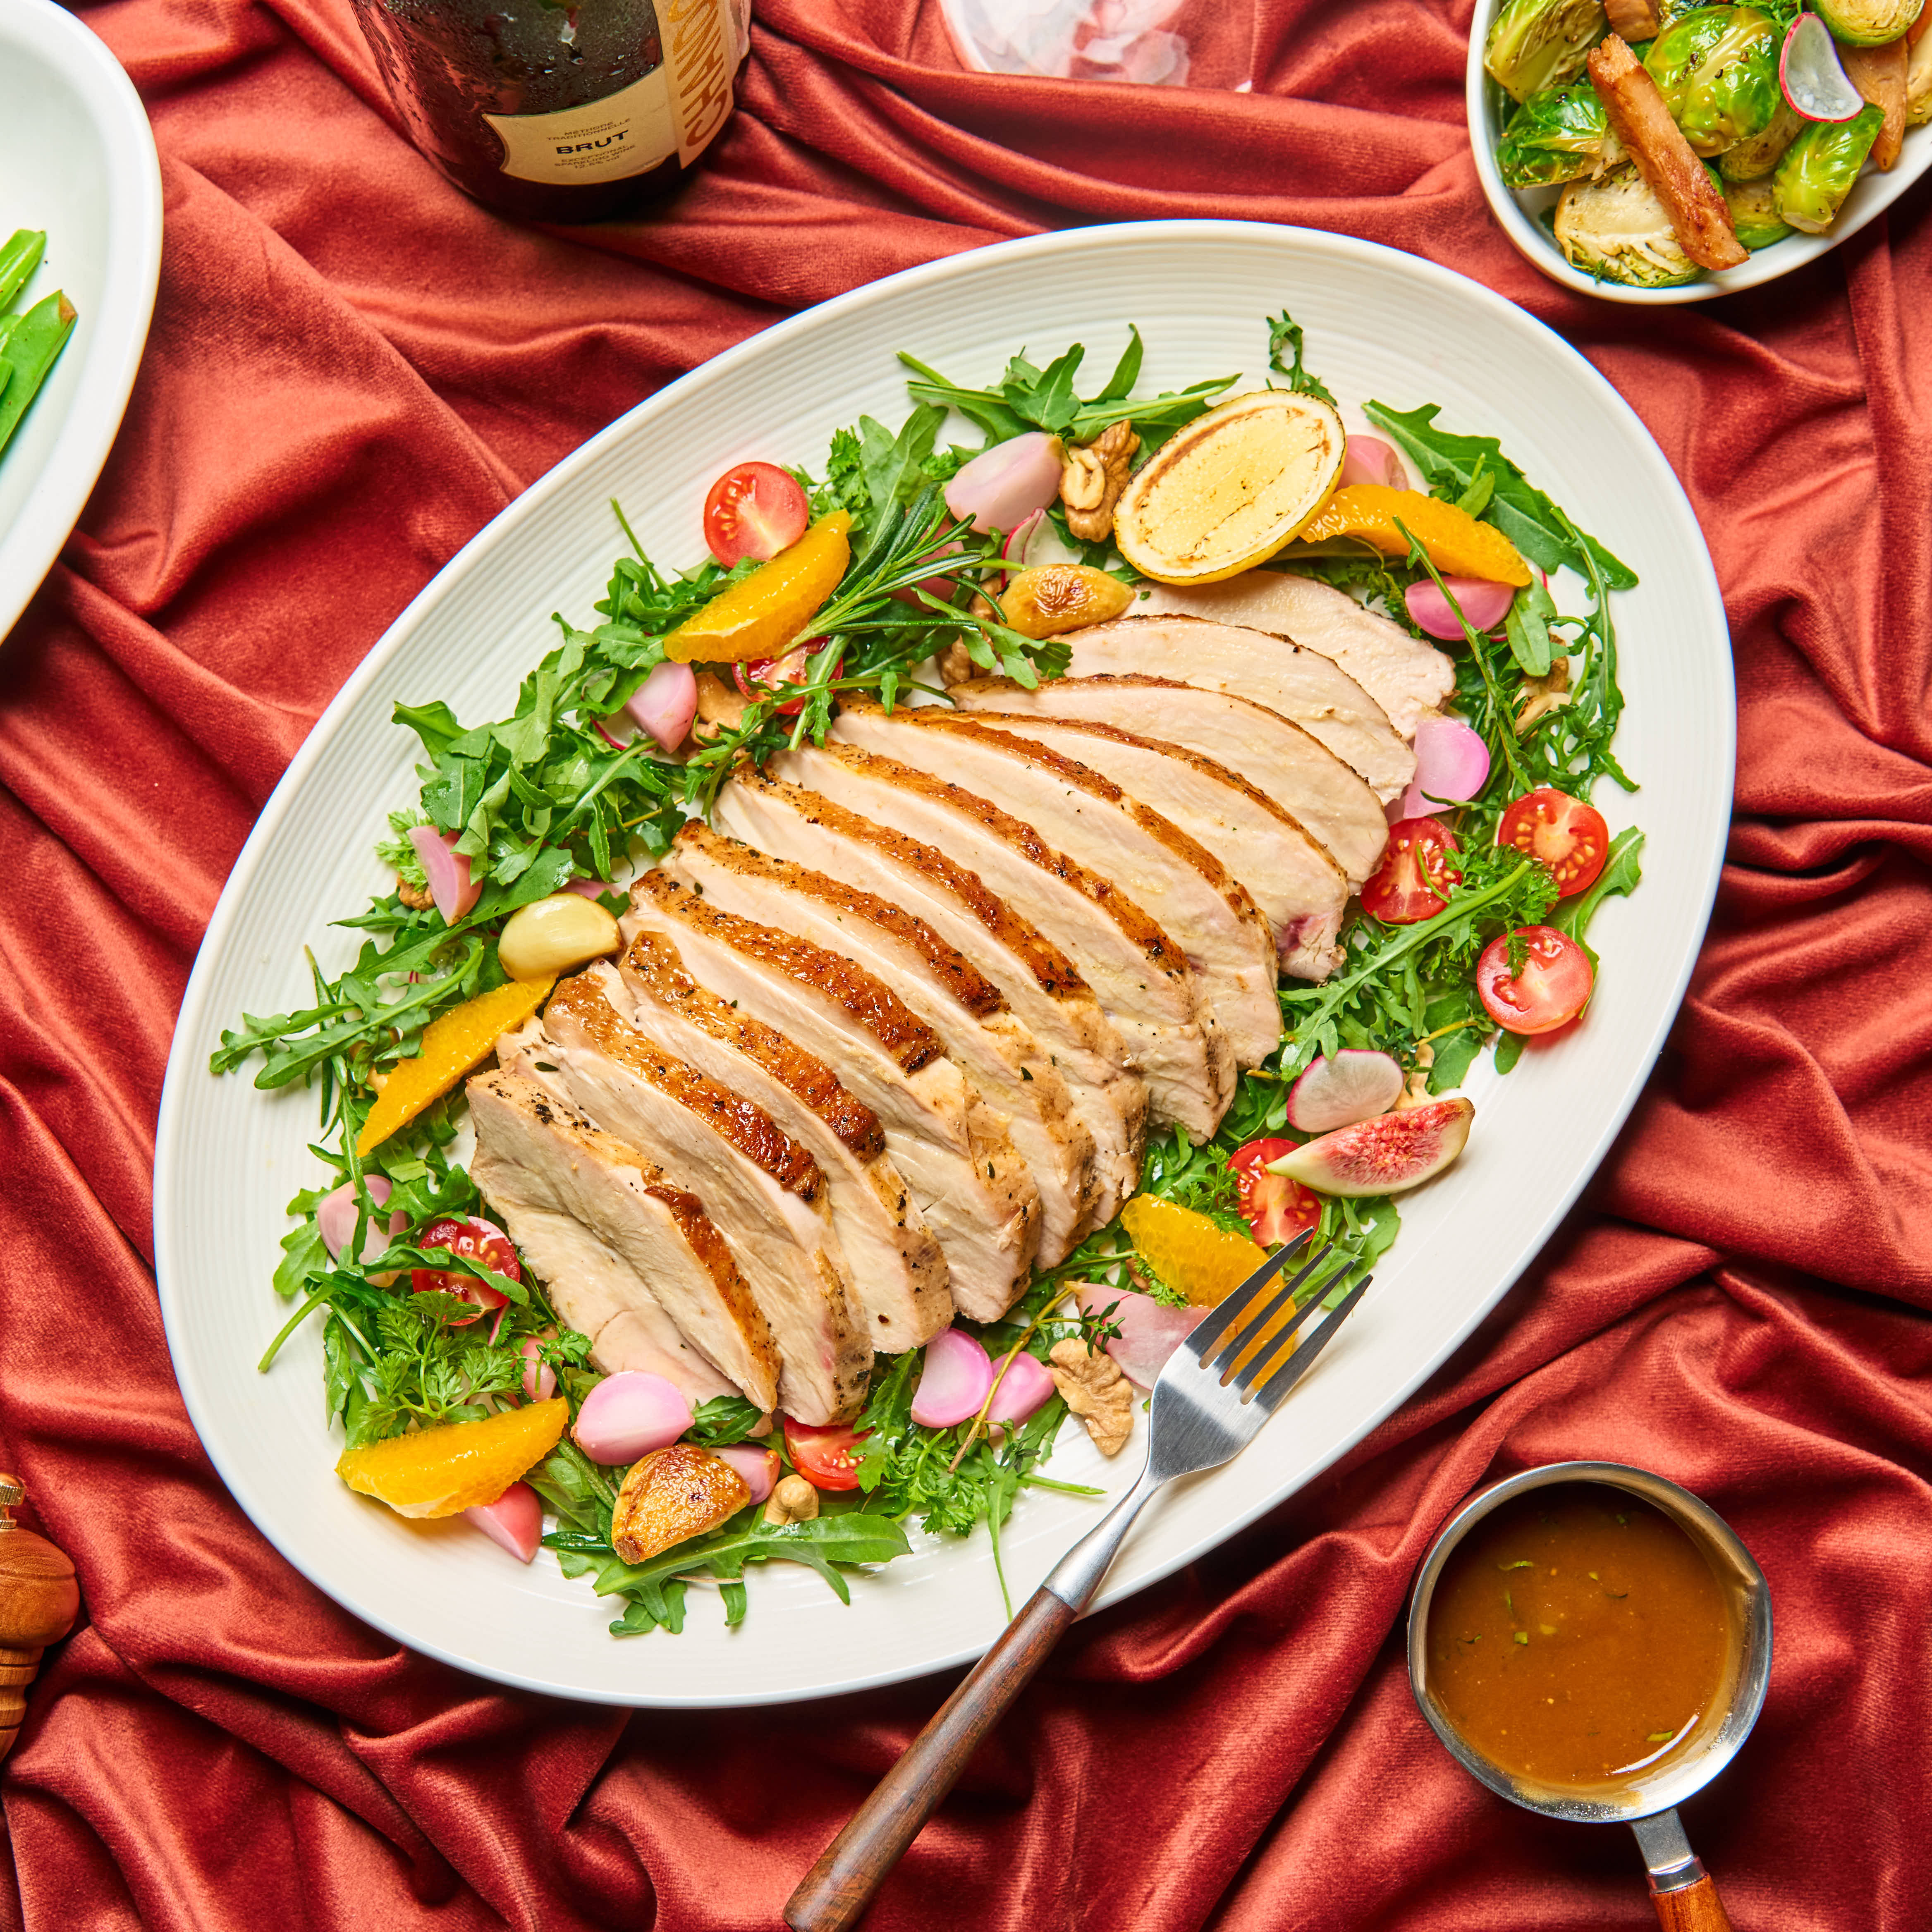
- Serve hot alongside your perfect turkey!
Notes
Nutrition PER SERVING
(Nutrition information is calculated automatically by Spoonacular API and should be considered an estimate.)


