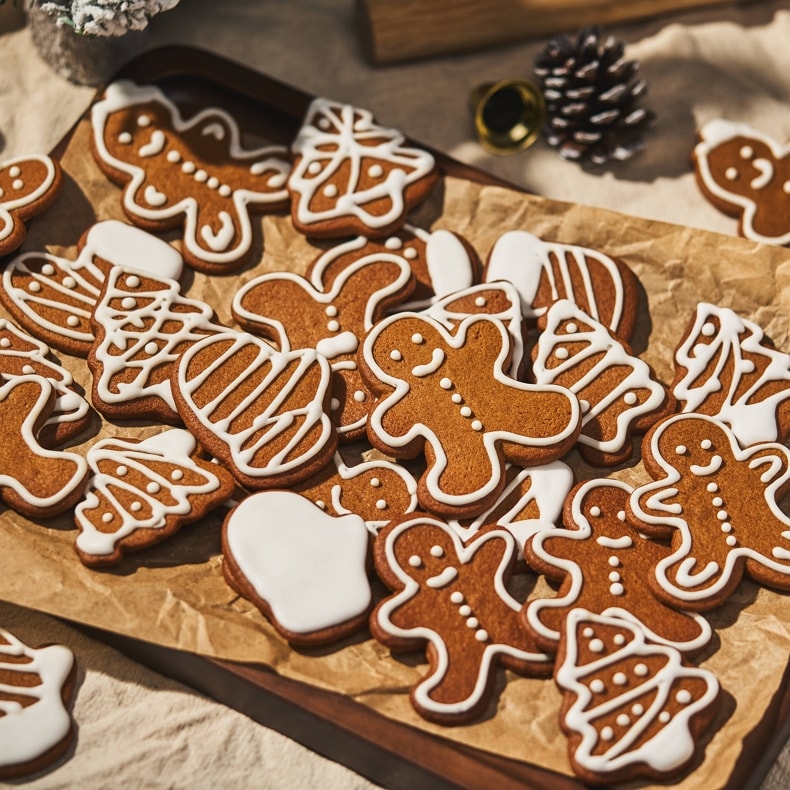
Fun, delicious, and easy to make. These spooky Halloween cookies are perfect to make your Halloween celebration truly unforgettable!
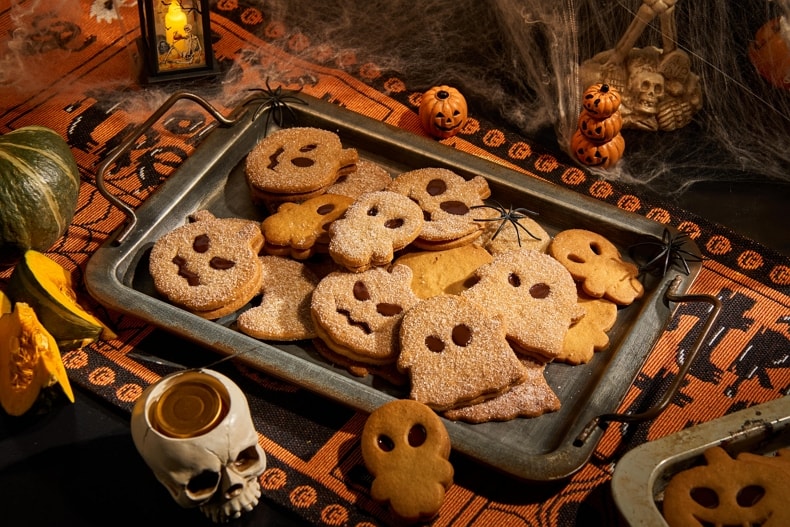
Different from the Halloween Mummy Bratwurst we made earlier. That spiced brown sugar cookie is the heart of these Halloween treats. The blend of cinnamon and nutmeg gives these cookies a warm, comforting taste that’s perfect for the season.
With every bite, you’ll savor the sweetness and the hint of those aromatic spices, making these cookies a delightful autumn indulgence, even as they embrace the Halloween spirit.
They’re so easy to make, too. No crazy decorating with royal icing required! Plus, involving the kids in baking these spooky treats adds an extra layer of fun to the experience.
How to Make Spooky Halloween Cookies
Follow my steps to get your custom spooky Halloween cookies! And I hope you love this recipe as much as I do (and the guests who have enjoyed them off my dessert table too!).
Ingredients for Halloween Cookies
Here are all the ingredients needed for these Halloween cookies:
- All Purpose Flour – Precise measurement is necessary! An excessive amount of flour might result in cookies that are excessively rigid and reluctant to expand, or worse yet, cookies lacking that flavorful zest! Generally, all-purpose flour, brown sugar, and butter are mixed in a ratio of 5:3:2.
- Light Brown Sugar – for sweetness, moisture, and flavor.
- Unsalted Butter – at room temperature.
- Eggs – at room temperature.
- Cinnamon Powder – for flavor.
- Nutmeg Powder – for flavor.
- Salt
- Baking Soda – create light textures.
- Vanilla Extract – for flavor.
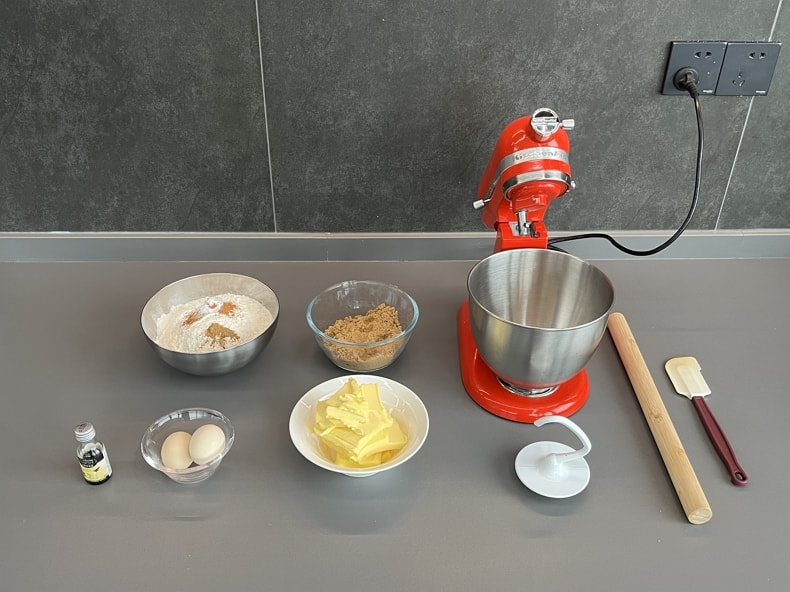
Tools You May Need to Cook Halloween Cookies
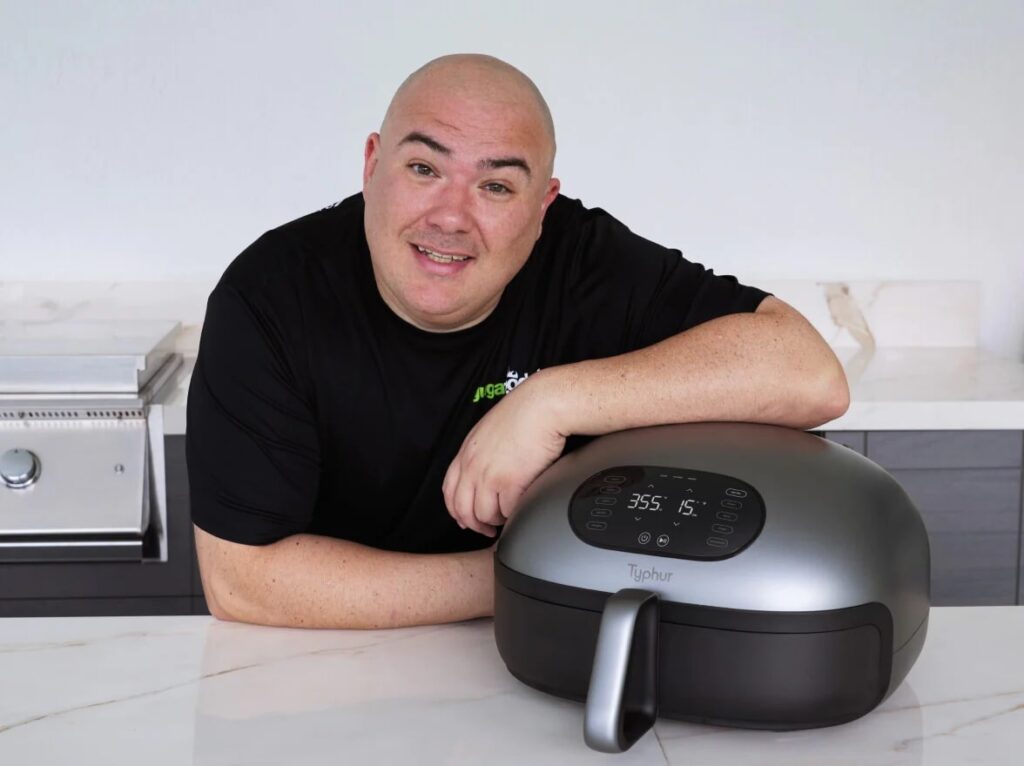
I’d like to use an air fryer instead of an oven to cook Halloween cookies because it is easy to cook and cook faster. Especially use my favorite Typhur Dome air fryer which is known as #1 in cooking speed, it offers an extra large cooking space for feeding a large group at a Halloween party.
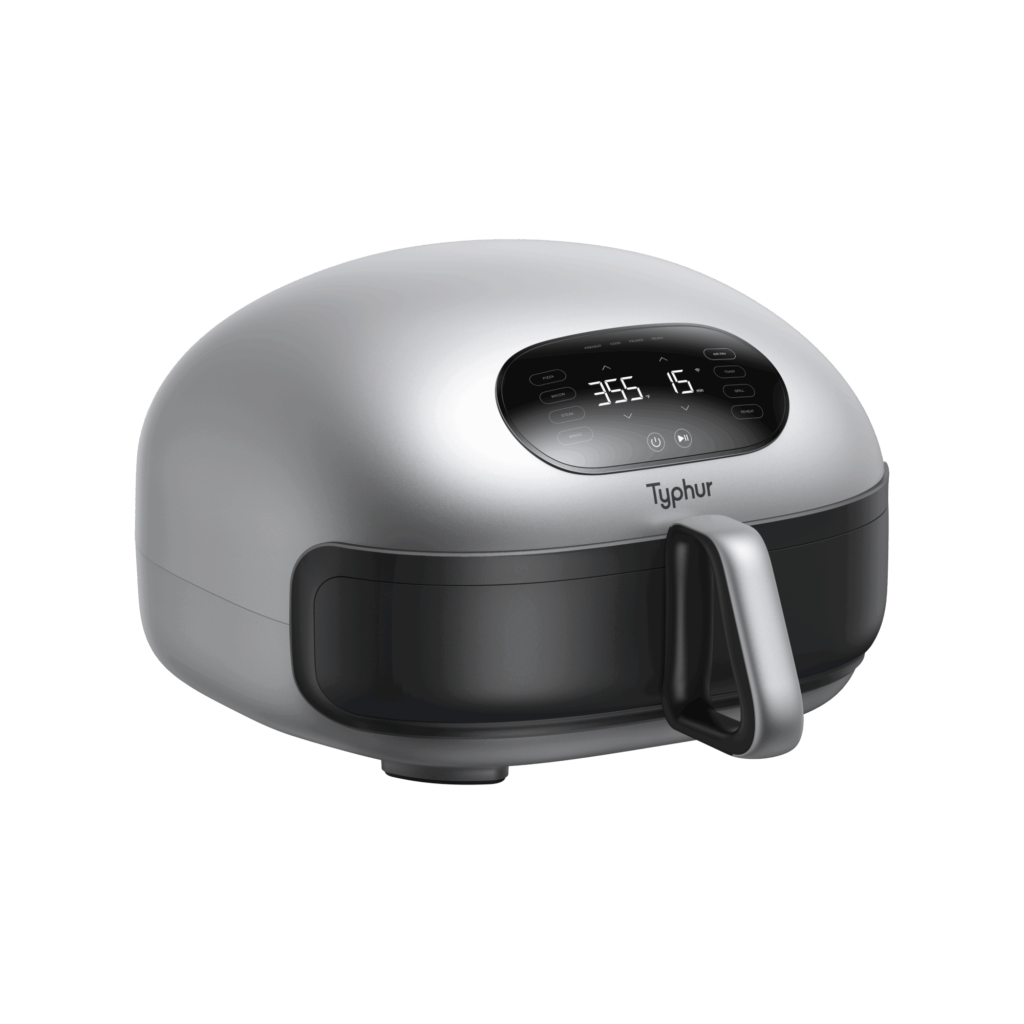
Dual Heating Elements
You must need cookie cutters for crafting your spooky shapes. They’ll give your cookies that extra touch of eeriness. What I use is a pumpkin shape. Pumpkin shapes are a classic choice for the season and can add a touch of tradition to your spooky treats.
However, here is your customization part, feel free to get creative and choose cookie cutters that match the theme or vibe you’re going for. There are endless possibilities, including bats, witches’ hats, ghosts, and more. Mixing and matching different shapes can also make your Halloween cookie collection even more exciting.
Let’s get started when you get everything prepared.
Step 1: make a dough
In a spacious mixing bowl, let’s kickstart this spooktacular cookie adventure. Cream together the butter, sugar, and vanilla until they transform into a fluffy, delightful concoction.
Now, it’s time for the eggs to join the party. Add them to the mix and blend until they harmonize seamlessly with the other ingredients.
Incorporate the flour, baking soda, a dash of cinnamon powder, a pinch of nutmeg powder, and a hint of salt. Let the mixer work its magic until everything melds together into a cohesive dough ball.
This dough isn’t just dough; it’s the canvas for our Halloween masterpiece!
Step 2: roll the dough
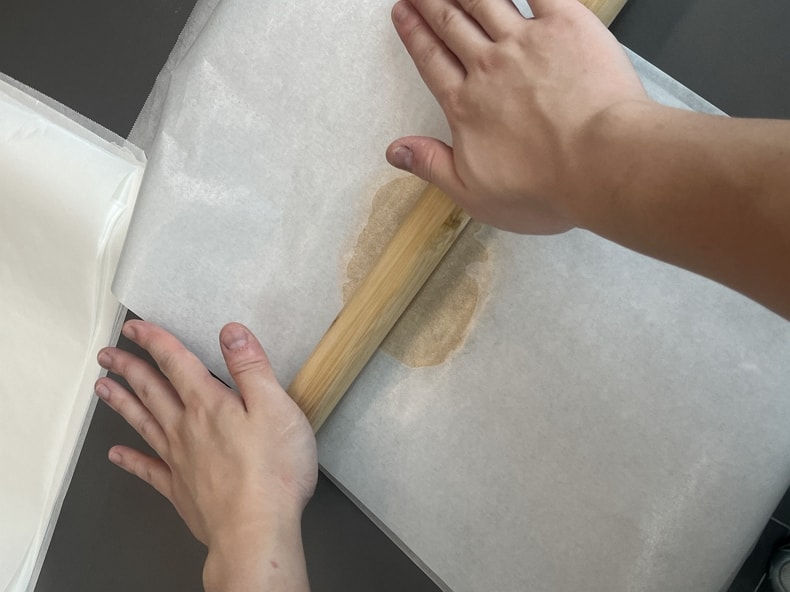
Now, it’s time to roll out the dough. I typically lay out two sheets of baking paper, take an appropriate portion of dough, and sandwich it between these sheets. This method effectively prevents the dough from sticking to the rolling pin and the work surface, simplifying the handling process.
Please pay attention to the thickness of the dough, which should be approximately 1/4 inch.
Step 3: cut out the desired shapes
Remove the chilled dough from the refrigerator and use cookie cutters to cut out your preferred shapes.
My cookie cutter doesn’t have eyes and mouths, so I use a paring knife or a smaller cookie cutter to craft eyes and a mouth on them.
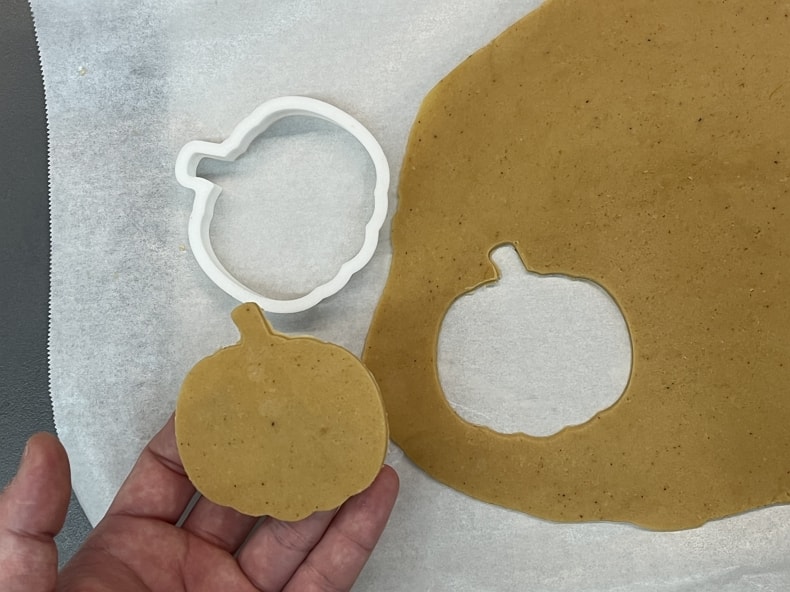
Arrange the shaped cookies on a baking sheet, cover them, and put them back in the refrigerator to firm up for approximately 15-20 minutes.
Roll out the remaining dough scraps and replicate the process with the other portion of the dough.
Step 4: air fryer cookies for 15 minutes at 390 °F
Pull out the tray from the Typhur Dome, and line the bottom of the basket with a layer of aluminum foil to make it more even, which will help the cookies maintain a better shape during baking. On the top of aluminum foil, line a layer of parchment to keep cookies from sticking.
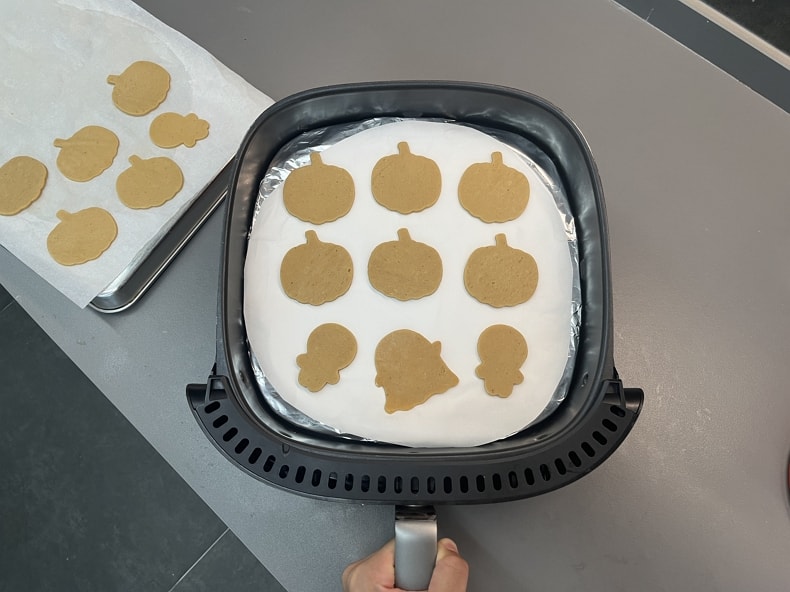
Carefully place the cookies in the cooking tray. Return the tray back to the Typhur Dome. Select the “Roast” mode, set the temperature to 390°F, and bake for only 15 minutes.
Remove the cookie from the tray. After brushing the tops of the cookies with melted butter, sprinkle them with sugar. Alternatively, you can fill the cookies with melted chocolate or your favorite jam.
Halloween Cookies Cooking Tips
Here are some Halloween cookie baking tips to help you create spooky and delicious treats:
Chill the Dough: As previously mentioned, chilling your cookie dough before shaping and baking can help cookies maintain their shape and prevent spreading. It also enhances flavor and texture.
Parchment Paper: Line your baking sheets with parchment paper or silicone baking mats to prevent cookies from sticking and make cleanup easier.
Decorating: Get creative with your cookie decorations! You can use royal icing, colored sugars, edible glitter, or even melted chocolate to add spooky designs and faces to your cookies.
Give it a try! You won’t disappointed. Happy Halloween!
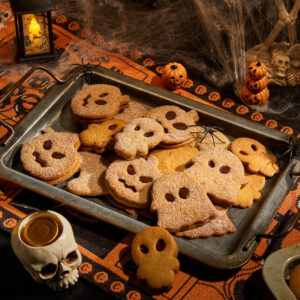
Halloween Cookies
Equipment
- Tongs
- Mixing Bowl
- Rolling Pin
- Cookie Cutter
Ingredients
- 1 cup Light Brown Sugar
- 1 1/2 cup Unsalted Butter room temperature
- 2 each Egg room temperature
- 4 1/2 cup All Purpose Flour
- 1 tsp Cinnamon Powder
- 1/2 tsp Nutmeg Powder
- 1/2 tsp Salt
- 1/4 tsp Baking Soda
- Vanilla Extract
Instructions
- In a large mixing bowl, cream together the butter, sugar, and vanilla until they are light and fluffy. Add the eggs and mix until they are evenly combined. Then, add the flour, baking soda, cinnamon powder, nutmeg powder, and salt, and beat the mixture until everything is well combined and a dough ball forms.1 cup Light Brown Sugar, 1 1/2 cup Unsalted Butter, 2 each Egg, 4 1/2 cup All Purpose Flour, 1 tsp Cinnamon Powder, 1/2 tsp Nutmeg Powder, 1/2 tsp Salt, 1/4 tsp Baking Soda, Vanilla Extract
- Prepare two sheets of baking paper. Take an appropriate amount of dough and place it between the two sheets of baking paper. Use a rolling pin to roll the dough to a thickness of 1/4 inch. Refrigerate or freeze the dough for later use.
- Take the chilled dough out of the refrigerator and use cookie cutters to cut out the desired shapes. For half of the cookies, use a paring knife or cookie cutter to create eyes and a mouth. Place them on a baking sheet, cover, and return to the refrigerator to firm up for approximately 15-20 minutes. Roll out the remaining dough scraps and repeat the process with the other portion of dough.
- Pull out the basket from the Typhur Dome, and line the bottom of the basket with a layer of aluminum foil to make it more even, which will help the cookies maintain a better shape during baking. On the top of aluminum foil, line a layer of parchment to keep cookies from sticking.
- Carefully place the cookies in the basket. Return the basket back to the Typhur Dome.
- Bake the cookiesTemperature: 390 °F Time: 15 minutes
- Remove the cookie from the tray.
- After brushing the tops of the cookies with melted butter, sprinkle them with sugar. Alternatively, you can fill the cookies with melted chocolate or your favorite jam.
Nutrition PER SERVING
(Nutrition information is calculated automatically by Spoonacular API and should be considered an estimate.)


